Mastering the Art of Taking Screenshots on Mac
Welcome to our comprehensive guide on how to take a screenshot on a Mac. At [Your Company Name], we understand the significance of creating top-notch content that not only informs but also helps you outshine other websites in the vast digital landscape. In this detailed article, we’ll delve into various methods of capturing screenshots on your Mac, ensuring that you’re well-equipped to master this essential skill.
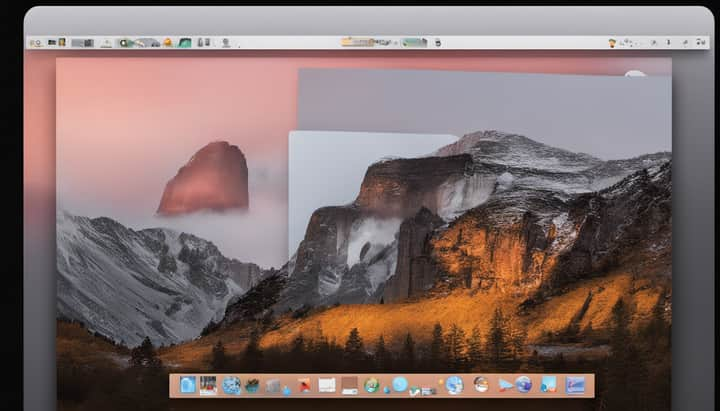
Screenshots are invaluable in numerous situations, whether you need to document a software bug, share an interesting snippet from a webpage, or create informative tutorials. Being able to take screenshots effortlessly on your Mac is a fundamental skill for both beginners and seasoned users.
Method 1: Capturing the Entire Screen
When you want to capture everything you see on your Mac’s display, here’s how you can do it:
1. Press ⌘ (Command) + Shift + 3:
- This keyboard shortcut captures the entire screen.
- The screenshot is saved as a file on your desktop.
Method 2: Selecting a Specific Area
Sometimes, you only want to capture a portion of your screen. Here’s how you can do that:
1. Press ⌘ (Command) + Shift + 4:
- This keyboard shortcut changes your cursor to a crosshair.
2. Click and Drag:
- Click and drag to select the specific area you want to capture.
- The screenshot is saved as a file on your desktop.
Method 3: Capturing a Specific Window
If you need to capture a specific window or application, follow these steps:
1. Press ⌘ (Command) + Shift + 4 + Spacebar:
- This keyboard shortcut changes your cursor to a camera icon.
2. Click on the Window:
- Click on the window you want to capture.
- The screenshot of the selected window is saved as a file on your desktop.
Method 4: Taking Screenshot and Copying to Clipboard
For quick capture and paste, use these shortcuts:
1. Press ⌘ (Command) + Control + Shift + 3:
- Captures the entire screen and copies it to the clipboard.
2. Press ⌘ (Command) + Control + Shift + 4:
- Allows you to select an area to capture and copies it to the clipboard.
Method 5: Capturing the Touch Bar (for MacBook Pro Users)
If you own a MacBook Pro with a Touch Bar, you can capture it using this method:
1. Press ⌘ (Command) + Shift + 6:
- Captures the Touch Bar and saves it as a file on your desktop.
Method 6: Adding a Timer Delay
For timed screenshots, utilize the Timer feature:
1. Press ⌘ (Command) + Shift + 5:
- This opens the screenshot toolbar.
2. Select “Capture” or “Record” with Timer:
- Choose to capture the screen or a specific area with a timer delay.
Capturing screenshots on your Mac is a fundamental skill that enhances your productivity and helps you communicate effectively. At [Your Company Name], we’re committed to delivering high-quality content to empower you with the knowledge and tools needed to excel in today’s digital world.